I am continuing my test of a single actuator, microdriver, masterboard setup. This post will focus on Flashing ODRI’s Microdriver V2.
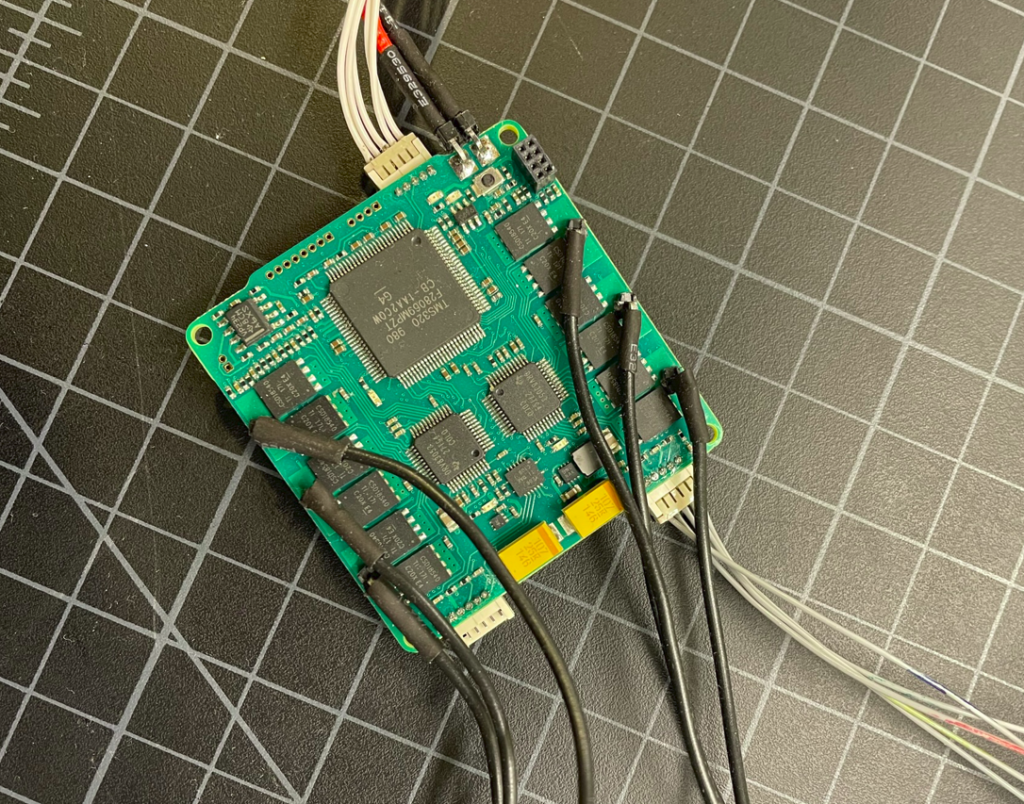
I ordered my Microdrivers V2 (uDriver) from SEEED , by uploading the following files in order:
Production time totaled 26 days. Once received I prepared the uDrivers according to the Open Dynamic Robot Initiative instructions.
I also had to purchase the:
- JTAG Emulator, in my case only the Blackhawk model was available.
- Cable Assembly
- Connector Header for JTAG Emulator side
- Connector Header for uDriver side
Preparing the Flash Wire
To prepare the flash adapter wire. I could not source a 2 row 16 position connection header, so I bought a 1 row 20 position, cut off 4 positions, then cut it in half and super-glued it together while in the emulator.
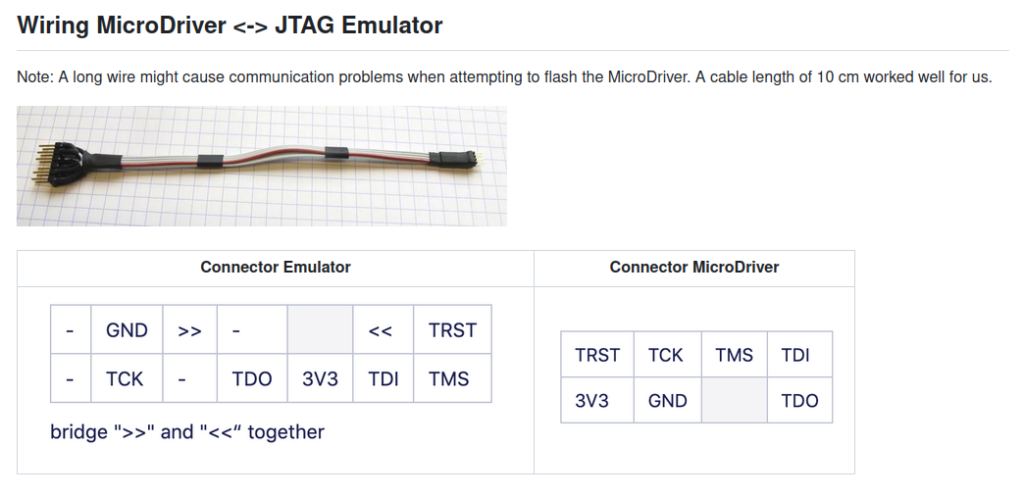
The first go around, I soldered the pins incorrectly. The above image is oriented by looking down at the back of the connector. In other words, this is the configuration when viewing the uDriver. I checked my connections with a multimeter to ensure I had configured them correctly.
Installing Code Composer Studio and Flashing Microdriver
On a Windows machine, I installed Code Composer Studio Version: 9.3.0.00012, not the most recent stable version which was 12 at the time. There were some dependency issues when I followed the flashing procedures in version 12.
I then in the app center installed two add ons, the C2000 Compiler and GUI Composer RunTime (if you plan on using some of the demos with your TI board).
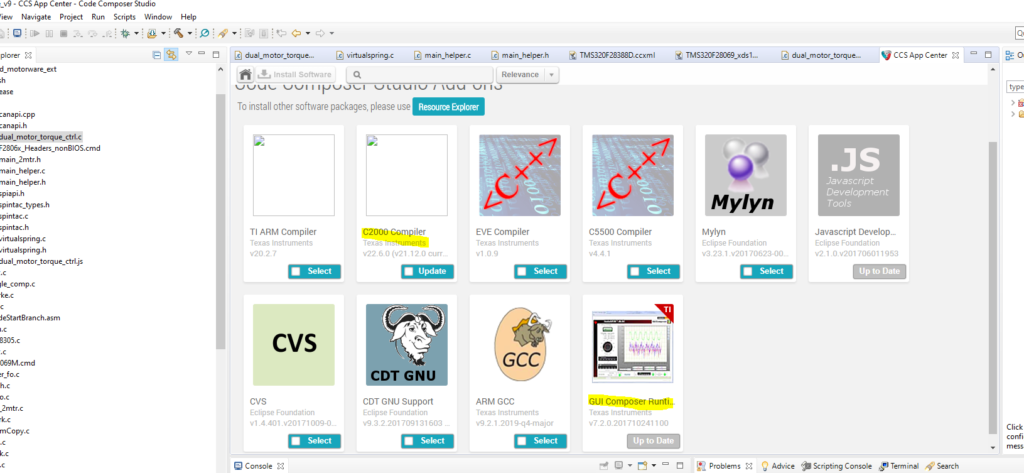
Taking care to select the correct versions:

I downloaded the firmware and installed the Motorware library.

Cloned the project and imported it. I plugged in the JTAG emulator to the PC.
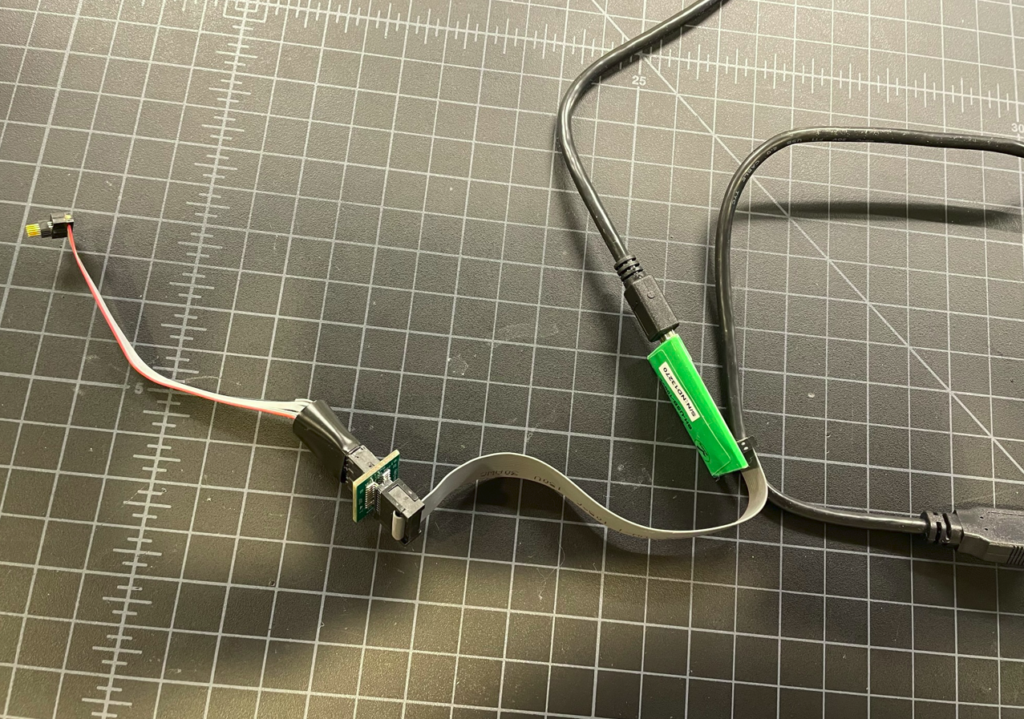
The first time you plug the JTAG emulator in via usb you should have an auto driver installed. Then I built for flash with the uDriver connected via flash cable to JTAG emulator and JTAG emulator connected to Windows PC via USB.
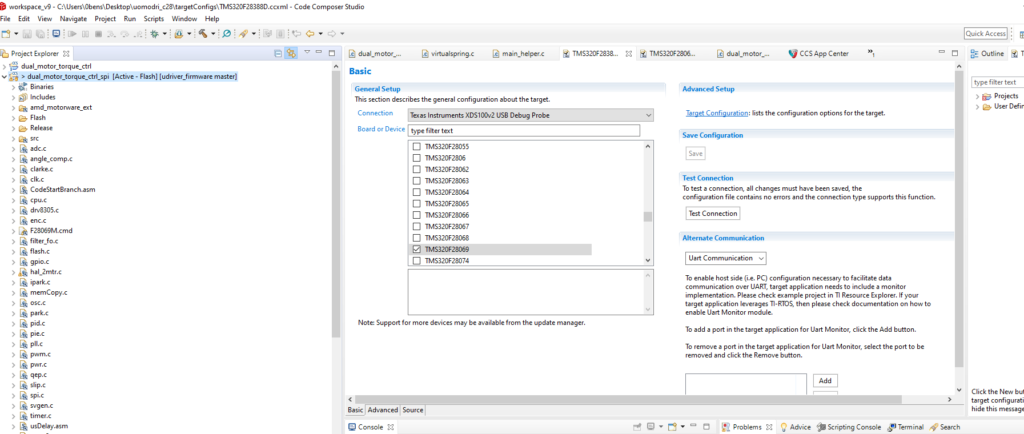
Once I had Code Composer Studio and the Motorware patch applied, Flashing ODRI’s Microdriver V2 got a little easier.
